Page 1 of 1

More Portrait Workshop

PostPosted: Wed Nov 22, 2006 2:01 pm
by 7zark7
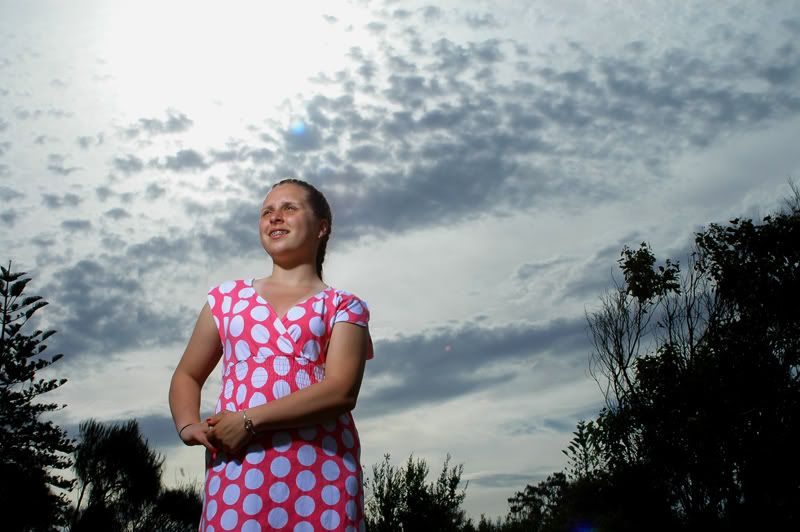
here are a number of the shots i managed to capture,
one of the pictures i am really proud of is the silhouette.
i found the session was really informative and my camera is not blinking at me as much anymore :D


1.
Image


2.
Image

3.
Image

4.
Image

PostPosted: Wed Nov 22, 2006 2:03 pm
by PiroStitch
That last one is brilliant! :D

My only nit pick is that the framing at the top of her head is quite tight...in fact it's been chopped off.

PostPosted: Wed Nov 22, 2006 2:06 pm
by casnell
I like the silhouette and the B/W

Chris

PostPosted: Wed Nov 22, 2006 2:20 pm
by Oz_Beachside
interested to see how you got the exposure on #4, can you post the original???

PostPosted: Wed Nov 22, 2006 2:27 pm
by Alpha_7
My favourite is #2 followed by the last one, both are excellent shots but are so different from each other.

PostPosted: Wed Nov 22, 2006 2:30 pm
by 7zark7
Oz,

i did cheat a little (PP), this picture was made possible by the hard shadow cast over the side of the models face, which was one of the things i was hoping to learn.

PP

1. darkened the background
2. smoothed the hair, this is really obvious on the lower left hand side where i did not fill the gap in her hair, rather i cropped it.
3. turned to black and white
4. applied a median of 1px

so there you go, while not shot in the right conditions to get the background correct in the shoot it's self, the lighting effect that i wanted over the subject was achieved.

Image

PostPosted: Wed Nov 22, 2006 2:35 pm
by Oz_Beachside
hmmm, interesting, and a great job!!!

Now, would it be possible to bring our Laura's left eye (camera right) a little more?

Looks like it washed away a little in your PP

PostPosted: Wed Nov 22, 2006 2:53 pm
by Antsl
PiroStitch wrote:That last one is brilliant! :D

My only nit pick is that the framing at the top of her head is quite tight...in fact it's been chopped off.


That's the reason why he cropped the top off the head Piro.... so you could not nit pick!!! :P groan loudly now if you wish.

One thing that I did not get to cover during Sunday's shoot was how we can use SB800 or similar flash units for achieving some of the results we got here with the studio lights. The fact is that it is possible, it just takes a little more work and effort. The main thing to remember is to start with the type of lighting effect you want on the subject (whether it is hard or soft light, the proximity you want it to be from the subject and the direction you want it from). From there you determine what gear and/or environment you have to make this happen and take it from there. Typically a studio light will have 10 - 50 times more power than an SB-800 however if you are clever you can still achieve a few interesting results. The image below was shot for a magazine and it was done using that Sunpak mod of mine bounced into a silver reflector from the camera position as the main light and an SB-26 on a small light stand to create the hotspot behind the subject. It was shot in an office in Hong Kong with no other special props. I like being able to travel light!

Image

Keep having fun with the editing. I am liking some of the images that you have seen here...good work... I'll put up a couple of mine when I get a chance! Cheers, Ants

PostPosted: Wed Nov 22, 2006 2:59 pm
by 7zark7
thanks for the feedback everyone,

i do have a question though,

regarding #4 how could i shoot the same image but have softer looking skin?

i am thinking

1. move a soft box closer to the subject
2. change the camera ISO to a higher level
3. shoot in a dark room so i don't have to PP the background


oh p.s.
i did not crop the image at all, i just did not capture it completely :D

so two lessons learnt here,
1. how to cast a shadow
2. how to not capture all your subject :)

PostPosted: Wed Nov 22, 2006 6:18 pm
by Willigan
Love no. 4 - great moody shot!